Professional Headshot Tips
A two-second glance decides whether your photo helps you or hurts you, and getting the light, wardrobe, and framing right doesn't require a photographer's budget.
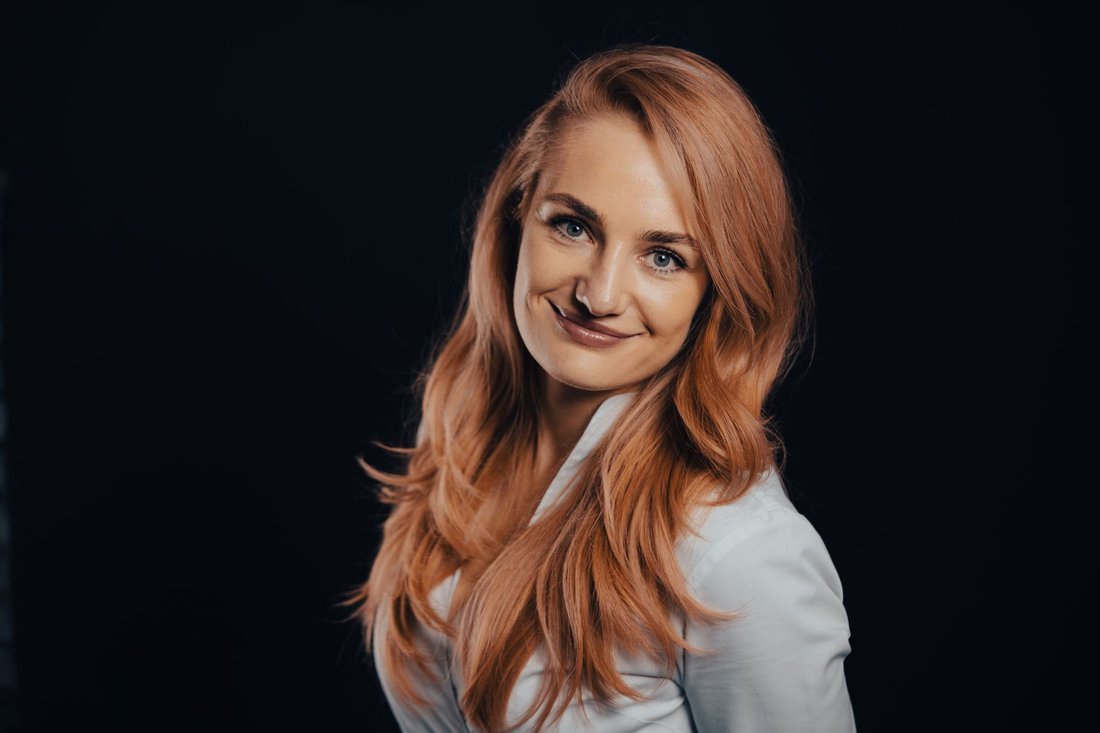
A hiring manager once told me she can tell within two seconds whether a candidate's headshot was taken this year or five job changes ago. It isn't gray hair or wrinkles that gives it away. It's the flat, uneven light of a photo cropped from a group shot, or the blue cast of a selfie lit by a laptop screen. That two-second judgment is exactly why professional headshot tips matter more now than they used to, back when a headshot was something you got once at a company retreat and kept using until retirement.
Now it's the first thing a stranger sees before they read a single word you've written, on your LinkedIn profile, a conference bio, or a company "About" page. A strong headshot doesn't require a studio budget or a professional stylist. It requires a handful of decisions made correctly, in the right order.
Light first, everything else second
Light is the single biggest factor separating a photo that looks professional from one that looks like a passport scan. Soft, even, directional light does more work than any camera or lens. Face a window during the hour or two after sunrise or before sunset, when the light is soft and low. Avoid direct overhead lighting, like recessed ceiling fixtures or fluorescent office panels, which carve harsh shadows under the eyes and nose. If you're shooting indoors, position yourself so window light hits your face at a slight angle rather than straight on, and let a light-colored wall fill in the shadows on the opposite side.
Avoid mixed lighting sources. A warm lamp on one side and cool daylight on the other will give your skin an uneven tone that's hard to correct afterward. One light source, well placed, beats three fighting each other.
Professional headshot tips for wardrobe and color
Solid, mid-tone colors photograph better than the alternatives. A busy pattern can create distortion on camera and pull attention away from your face. Stark white tends to blow out next to skin tones, while pure black flattens your features against a dark background. Deep colors close to your natural coloring, like navy or charcoal, work well on most people.
Fit matters more than brand. A blazer that pulls across the shoulders or a collar that gaps at the neck reads in a still photo far more than it does in person, because there's no movement to distract from it. Try on the outfit and check it in a mirror under the same light you plan to shoot in, not the lighting in your closet.
Expression and posture
The stiff, closed-mouth corporate smile is easy to spot and rarely does anyone favors. Aim for the expression you'd have greeting someone you respect and like, not the one you'd have sitting for a mugshot. A slight forward tilt of the chin, with the crown of the head lifted, avoids the double-chin effect that comes from shooting straight-on or slightly upward. Turn your shoulders about thirty degrees from the camera, then turn your face back toward the lens. This reads as more natural and confident than squaring up straight ahead.
If you're working with a photographer, ask for several frames between poses, not just the ones where you're told to smile. Some of the best headshots happen in the half-second before or after the direction, when the expression is unguarded.
Framing and background
Crop from mid-chest up, with your eyes roughly in the upper third of the frame. Too tight and the photo feels cramped. Too loose and your face becomes small and hard to read in a thumbnail. Backgrounds should be simple and out of focus: a plain wall, a softly blurred outdoor scene, or a neutral studio backdrop. Busy backgrounds, bright colors, or anything with visible text compete with your face for attention, especially at the small sizes most headshots are actually viewed at.
Photographer or DIY
A professional photographer earns their fee in ways that aren't obvious until you compare results side by side. They know how to direct an expression instead of just asking for a smile, how to fix lighting problems in real time, and how to shoot enough frames that you actually have options. If your role is client-facing, if you're job hunting, or if the photo will represent an entire company page, that expertise is worth the cost.
A well-planned DIY shoot can still hold up. Use a tripod or prop your phone against something stable rather than holding it, set the camera at eye level, and use a timer or remote shutter so your hands are free and your expression is relaxed rather than braced. Take far more frames than feels necessary. Out of eighty photos, two or three usable ones is a normal ratio, even for people who look confident on camera.
What to avoid
- Group photos cropped down to just your face, which usually look off-center and poorly lit
- Heavy filters or retouching that changes your skin texture or face shape, since the photo needs to still look like you in person
- Sunglasses, hats, or anything covering the eyes, which are the part of the photo people actually connect with
- Old photos kept in rotation for years past when they stopped looking like you
None of this requires expensive equipment or a full day of shooting. It requires treating the photo as a decision rather than an afterthought, the same way you'd treat the opening line of your resume. The people who get this right aren't the ones with the best camera. They're the ones who thought about light, fit, and expression before they ever pressed the shutter.
Want your name to look the way it should on Google?
Knownly builds and ranks truthful content about you so the results that represent you best are the ones people see first.
See how Knownly works →